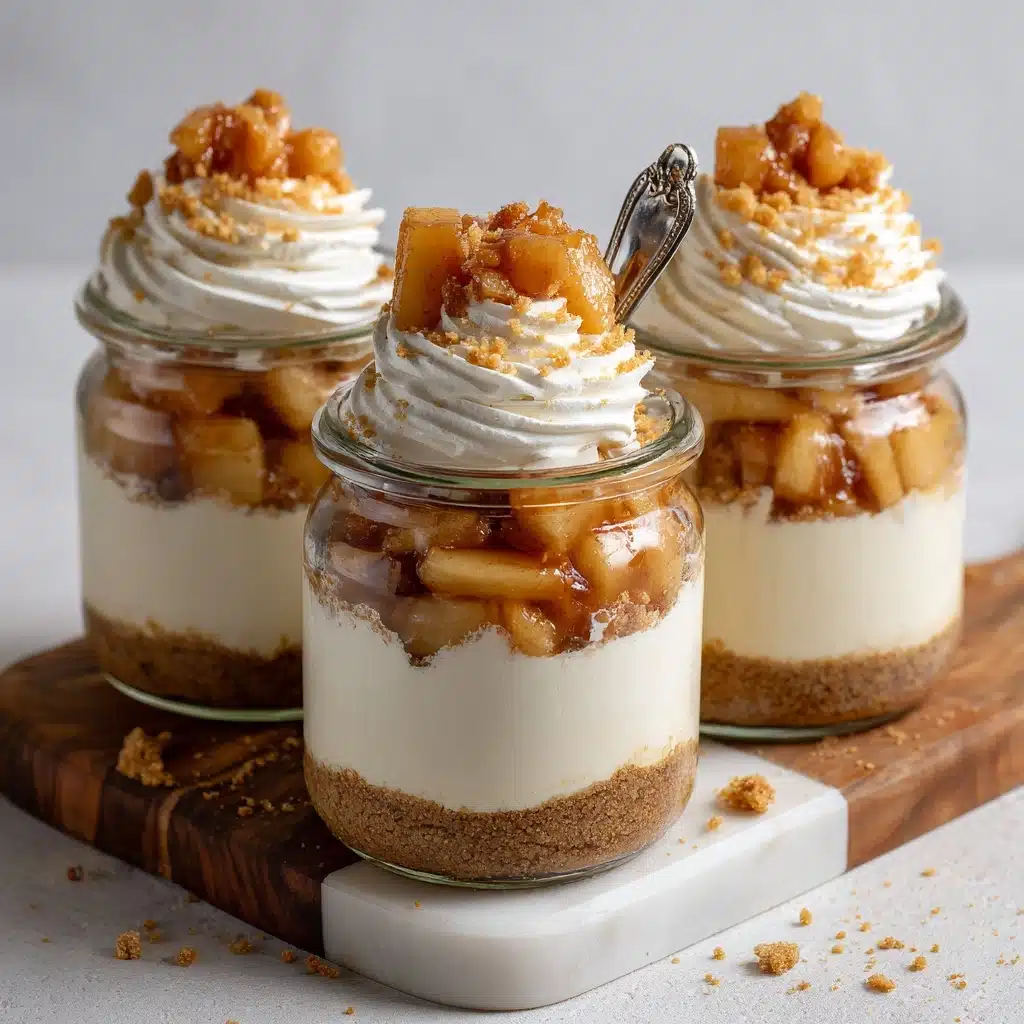
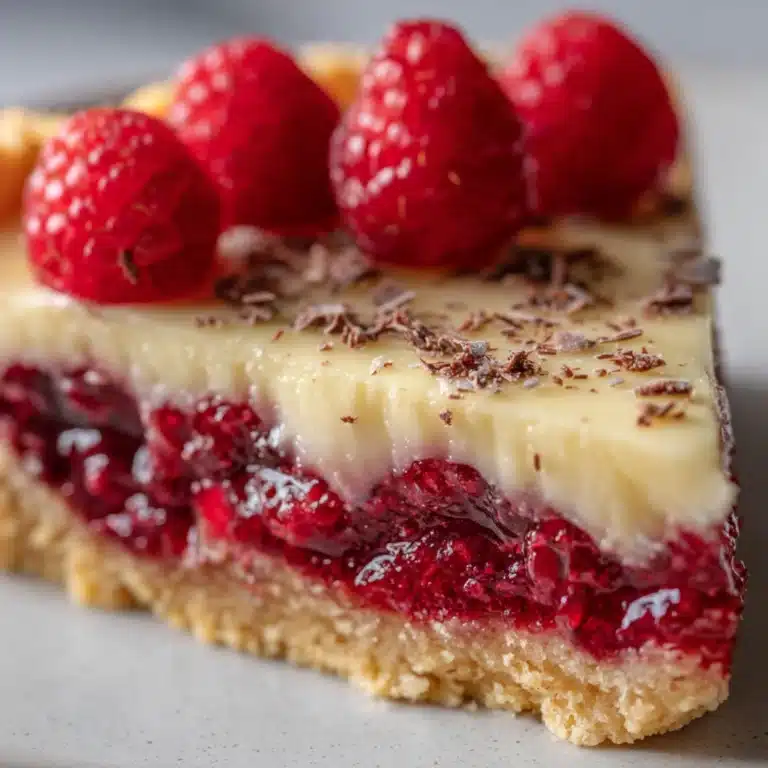
No-Bake Apple Cheesecake Jars Recipe
If you’re looking for a dessert that captures all the cozy, comforting flavors of fall in a single, adorable little jar, these No-Bake Apple Cheesecake Jars are about to become your new obsession. Picture creamy cheesecake, buttery graham cracker crust, and the most luscious cinnamon-simmered apple topping—all layered up and ready to steal the spotlight at your next gathering or cozy night in. The best part? You don’t even have to turn on your oven! These jars are as simple as they are delightful, making them perfect for both seasoned bakers and total beginners.
Ingredients You’ll Need
Every ingredient in these No-Bake Apple Cheesecake Jars plays a starring role, bringing out the best in both flavor and texture. With just a handful of pantry and fridge staples, you’ll create a dessert that looks impressive and tastes like pure comfort.
- Graham cracker crumbs: The classic base for any cheesecake, these add a sweet, slightly crunchy layer that soaks up all the flavors above it.
- Unsalted butter, melted: Helps bind those crumbs together and adds rich, buttery goodness to the crust.
- Granulated sugar: Sweetens the crust just enough without overpowering the other layers.
- Cream cheese, softened: The creamy, tangy heart of the cheesecake filling—make sure it’s at room temperature for smooth blending.
- Powdered sugar: Dissolves beautifully into the cream cheese, giving you a silky, sweet filling.
- Vanilla extract: Adds a warm, aromatic note that ties the cheesecake flavor together.
- Heavy whipping cream, cold: Whipped into soft peaks, this makes the filling extra light and airy.
- Apples, peeled and diced: Choose a crisp, tart variety for the perfect balance against the rich cheesecake.
- Brown sugar: Caramelizes as it cooks with the apples for a deep, toasty sweetness.
- Cinnamon: Brings that essential warmth and spice to the apple topping.
- Lemon juice: Adds just the right tang to brighten the apples and keep them from browning.
- Pinch of salt: Balances all the sweetness and makes every bite pop.
How to Make No-Bake Apple Cheesecake Jars
Step 1: Prepare the Graham Cracker Crust
Start by combining your graham cracker crumbs with melted butter and granulated sugar in a bowl. Stir until the mixture looks like wet sand and everything is evenly moistened. Divide this mixture among your jars (you’ll get 4 to 6, depending on their size) and gently press it down with the back of a spoon to create a sturdy base for your cheesecake. This layer adds a lovely crunch in every spoonful.
Step 2: Whip Up the Cheesecake Filling
In a separate bowl, beat your softened cream cheese until it’s perfectly smooth—no lumps allowed! Add powdered sugar and vanilla extract, mixing until everything is creamy and luscious. In another bowl, whip the cold heavy cream until stiff peaks form (a hand mixer makes this a breeze). Gently fold the whipped cream into the cream cheese mixture, taking care to keep everything light and fluffy. This filling is the dreamy middle layer that makes these No-Bake Apple Cheesecake Jars so irresistible.
Step 3: Layer the Cheesecake Filling
Spoon or pipe the cheesecake mixture over the prepared crust in each jar. Try to keep the layers even for the prettiest presentation. At this point, your jars are already looking gorgeous, but there’s one more layer of magic to add!
Step 4: Cook the Cinnamon Apple Topping
In a small saucepan, combine your diced apples, brown sugar, cinnamon, lemon juice, and a pinch of salt. Cook over medium heat, stirring occasionally, for about 5 to 7 minutes. You’re aiming for tender apples that are coated in a glossy, syrupy sauce. Let the mixture cool slightly before spooning it over the cheesecake filling in each jar. The apples add a sweet, tart, and spicy crown on top of your creamy cheesecake.
Step 5: Chill and Serve
Refrigerate your No-Bake Apple Cheesecake Jars for at least 2 hours, giving them time to set and the flavors to meld. When you’re ready to serve, grab a spoon and get ready for rave reviews! The chilling time is essential for the perfect texture, so don’t skip it.
How to Serve No-Bake Apple Cheesecake Jars

Garnishes
To give your No-Bake Apple Cheesecake Jars that extra wow factor, try a drizzle of caramel sauce, a sprinkle of chopped toasted nuts like pecans or walnuts, or even a little extra cinnamon on top. These small finishing touches add both flavor and eye-catching appeal—plus, they make each serving feel extra special.
Side Dishes
While these cheesecake jars are a showstopper all on their own, they pair beautifully with a cup of hot spiced tea, a scoop of vanilla ice cream, or even a crisp, refreshing fruit salad. If you’re serving them at a party, a tray of buttery shortbread cookies on the side is always a hit!
Creative Ways to Present
Think beyond basic jars! Serve your No-Bake Apple Cheesecake Jars in mini mason jars, clear wine glasses, or even vintage teacups for a whimsical touch. For a festive look, tie a ribbon around each jar or add a cute tag if you’re gifting them. Layering in clear containers lets those beautiful striations shine, making every jar almost too pretty to eat.
Make Ahead and Storage
Storing Leftovers
If you have any leftovers (though it’s rare!), simply pop lids on your jars or cover tightly with plastic wrap and store them in the fridge. They’ll stay fresh for up to three days, and the flavors only get better as they meld together.
Freezing
Want to enjoy No-Bake Apple Cheesecake Jars later? You can freeze them before adding the apple topping. Secure each jar with a lid and freeze for up to one month. Thaw overnight in the fridge, then top with freshly cooked apples before serving for the best texture.
Reheating
There’s no need to reheat these jars, since they’re meant to be enjoyed chilled! If you’ve frozen them, just allow enough time in the refrigerator for them to thaw completely before serving. The apples may be gently warmed separately if you prefer a contrast of warm topping and cold cheesecake.
FAQs
Can I use other fruits instead of apples?
Absolutely! Pears, peaches, or even berries can be swapped in for a different twist. Just adjust the cooking time and sugar to suit the fruit you choose, and you’ll have a delicious variation on these No-Bake Apple Cheesecake Jars.
How far ahead can I make these jars?
You can assemble the jars up to 24 hours in advance. Just keep them refrigerated and add any garnishes right before serving for the freshest taste and appearance.
Can I make these gluten-free?
Yes! Simply use gluten-free graham crackers for the crust. All the other ingredients are naturally gluten-free, so it’s an easy swap that doesn’t sacrifice flavor or texture.
What apples work best for the topping?
Crisp, tart apples like Granny Smith or Honeycrisp are perfect for the topping. They hold their shape well and provide a nice balance to the sweet, creamy cheesecake layer.
Do I need any special equipment?
All you need are some small jars or cups, a couple of mixing bowls, a hand mixer (or strong arms and a whisk!), and a small saucepan for the apples. No fancy gadgets required to whip up these No-Bake Apple Cheesecake Jars!
Final Thoughts
There’s something undeniably charming about desserts served in jars, and these No-Bake Apple Cheesecake Jars are proof that easy can also be extraordinary. Whether you’re hosting a party or just treating yourself, I hope you’ll give this recipe a try and share the sweet joy with friends and family. Happy no-baking!
Print
No-Bake Apple Cheesecake Jars Recipe
- Total Time: 30 minutes plus 2 hours chilling
- Yield: 4–6 servings 1x
- Diet: Non-Vegetarian
Description
A delightful no-bake apple cheesecake in individual jars featuring a buttery graham cracker crust, creamy vanilla cheesecake filling, and a warm spiced apple topping. Perfect for an easy, elegant fall dessert or anytime treat.
Ingredients
Crust
- 1 cup graham cracker crumbs
- 3 tablespoons unsalted butter, melted
- 2 tablespoons granulated sugar
Cheesecake Filling
- 8 oz cream cheese, softened
- ½ cup powdered sugar
- 1 teaspoon vanilla extract
- 1 cup heavy whipping cream, cold
Apple Topping
- 2 medium apples, peeled and diced
- 2 tablespoons brown sugar
- ½ teaspoon cinnamon
- 1 tablespoon lemon juice
- Pinch of salt
Instructions
- Prepare the crust: In a bowl, combine graham cracker crumbs, melted butter, and granulated sugar. Stir until evenly moistened, then divide the mixture evenly among 4–6 small jars or cups, pressing down gently to form the crust layer.
- Make the cheesecake filling: In a separate bowl, beat the cream cheese until smooth and creamy. Add powdered sugar and vanilla extract, mixing well until fully combined. In another bowl, whip the cold heavy cream until stiff peaks form. Gently fold the whipped cream into the cream cheese mixture until light and fluffy.
- Assemble the cheesecake layer: Spoon or pipe the cheesecake filling evenly over the prepared graham cracker crust in each jar, smoothing the tops.
- Cook the apple topping: Combine diced apples, brown sugar, cinnamon, lemon juice, and a pinch of salt in a small saucepan over medium heat. Cook for 5–7 minutes, stirring occasionally, until the apples become tender and the mixture thickens into a syrupy topping. Remove from heat and allow to cool slightly.
- Top the cheesecake jars: Spoon the cooled apple topping over each cheesecake layer in the jars evenly.
- Chill: Refrigerate the jars for at least 2 hours to set and meld the flavors before serving.
Notes
- These jars can be made up to 24 hours in advance for convenience.
- Add a drizzle of caramel sauce or a sprinkle of chopped nuts on top for extra flavor and texture.
- For a lighter version, substitute half-and-half for heavy cream and reduce sugar slightly.
- Prep Time: 25 minutes
- Cook Time: 5 minutes
- Category: Dessert
- Method: No-Bake
- Cuisine: American
Nutrition
- Serving Size: 1 jar
- Calories: 420
- Sugar: 25g
- Sodium: 220mg
- Fat: 30g
- Saturated Fat: 17g
- Unsaturated Fat: 11g
- Trans Fat: 0g
- Carbohydrates: 34g
- Fiber: 2g
- Protein: 4g
- Cholesterol: 85mg


