Healthy Version of Ice Cream Recipe
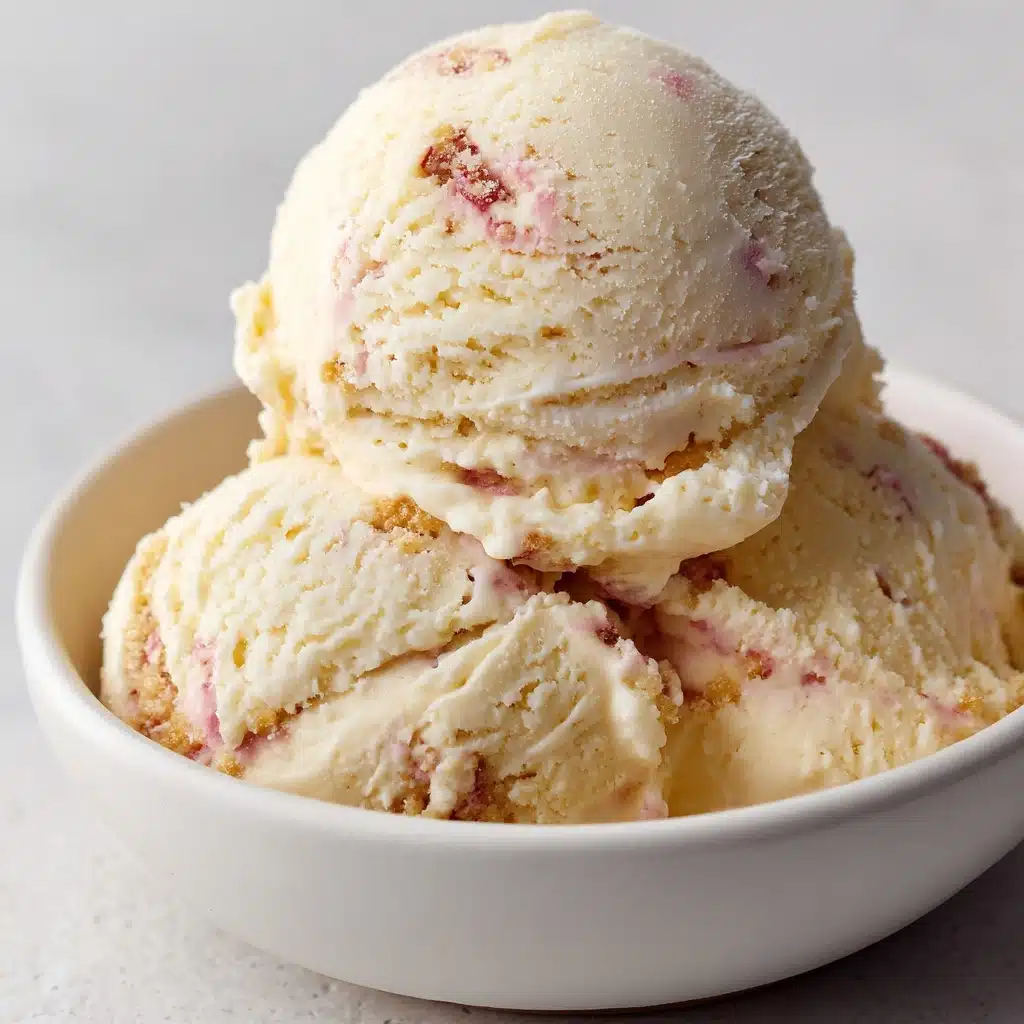
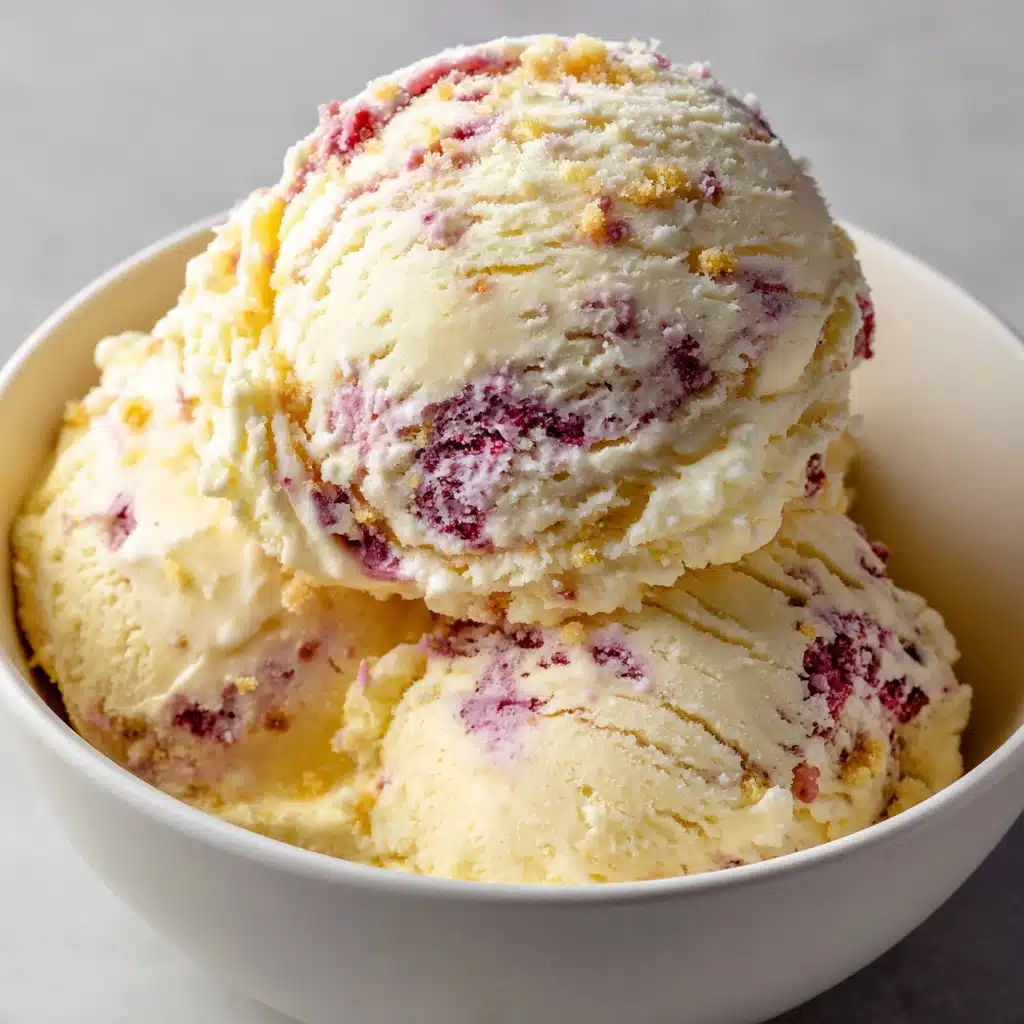
If you’ve ever wished you could indulge in a bowl of ice cream without any of the guilt, this Healthy Version of Ice Cream is about to become your new favorite treat! This recipe takes just a handful of wholesome ingredients and turns them into a creamy, dreamy dessert that tastes just as comforting as your classic ice cream but with a fun, nutritious twist. The natural sweetness from ripe bananas combines with vanilla and optional mix-ins to create endless possibilities, all while being totally dairy-free, vegan, and free of artificial ingredients. Trust me, you’ll be amazed at how something this healthy can taste so luxurious and satisfying!

Ingredients You’ll Need
-
Frozen Banana Base:
- 3 ripe bananas, sliced and frozen
- ¼ cup unsweetened almond milk (or any milk of choice)
- 1 teaspoon pure vanilla extract
Optional Add-Ins:
- 1 tablespoon peanut butter
- 1 tablespoon cocoa powder
- ¼ cup frozen berries
- a handful of dark chocolate chips
How to Make Healthy Version of Ice Cream
Step 1: Prep Your Bananas
Slice your ripe bananas into coins and transfer them to a freezer-safe bag or container. Let them freeze for at least 3–4 hours (overnight is even better!) until they’re completely frozen solid. This step is what gives your Healthy Version of Ice Cream that iconic frosty texture.
Step 2: Blend It Smooth
Pop the frozen banana slices into your food processor or high-powered blender. Pulse a few times until the bananas start to break up—don’t worry if it looks crumbly at first! Add in the almond milk and vanilla extract, then blend again, scraping down the sides as needed, until the mixture is super smooth and creamy, resembling soft-serve ice cream.
Step 3: Customize With Add-ins
This is where the fun starts! If you’re using peanut butter, cocoa powder, berries, or chocolate chips, add them now. Give everything another quick blend until your mix-ins are just incorporated (or gently stir them in for a ripple effect). You can truly make every batch of Healthy Version of Ice Cream a new adventure.
Step 4: Serve Soft or Freeze Firm
Scoop out your freshly blended Healthy Version of Ice Cream and enjoy it right away for a soft, creamy treat. For a firmer, scoopable ice cream, pour it into a freezer-safe container and freeze for 1–2 hours. After that, it’s perfectly scoopable—just like the classic dessert you love.
How to Serve Healthy Version of Ice Cream

Garnishes
The fun doesn’t stop once you’ve made your Healthy Version of Ice Cream! Try topping it with fresh berries, a dusting of cocoa powder, chopped nuts, shredded coconut, or even a drizzle of natural nut butter. Not only do these toppings add flavor and crunch, but they also turn each bowl into an instagrammable masterpiece.
Side Dishes
Pair your ice cream with a warm slice of healthy banana bread or some crispy oat cookies for a truly comforting dessert moment. For a lighter touch, a bowl of tropical fruit salad works beautifully alongside your chilly treat, giving you a colorful, refreshing duo.
Creative Ways to Present
Try serving your Healthy Version of Ice Cream in fun waffle bowls, mason jars, or topped with homemade granola for lots of texture. You can also layer different flavors in parfait glasses or sandwich scoops between thin cookies for a playful ice cream sandwich—kids and adults both adore this!
Make Ahead and Storage
Storing Leftovers
If you have extra Healthy Version of Ice Cream, simply transfer it to an airtight container and pop it in the freezer. It will stay fresh and delicious for up to a week—just be sure to label it so you remember all your custom flavors!
Freezing
This ice cream freezes best in a shallow container so it’s easy to scoop later. For longer-term storage, press a piece of parchment or plastic wrap directly on the surface to keep out freezer burn. When you’re ready to eat, let it rest at room temperature for about 10 minutes—then scoop with ease!
Reheating
Reheating isn’t needed, but if your Healthy Version of Ice Cream is too firm straight from the freezer, just let the container sit on the countertop for 10–15 minutes. The bananas will soften up and make every scoop just as creamy as the day you first blended them.
FAQs
Can I use bananas that aren’t very ripe?
For the sweetest, creamiest Healthy Version of Ice Cream, make sure your bananas are super ripe—think lots of brown spots! Less ripe bananas can be used, but you might find the flavor less sweet and the texture a bit more starchy.
Is this recipe safe for people with nut allergies?
Absolutely! Just use any nut-free milk (like oat or soy milk) in place of almond milk, and skip the peanut butter and nuts toppings if needed. This Healthy Version of Ice Cream is flexible enough for just about every dietary need.
Does it really taste like real ice cream?
You’ll be happily surprised—it’s rich, creamy, and sweet with a subtle banana flavor. While it’s not dairy-based, most people find this Healthy Version of Ice Cream satisfies their ice cream cravings with a freshness that’s hard to beat!
Can I double the recipe for a group?
You totally can! Just make sure your food processor or blender is large enough to handle the extra volume. This Healthy Version of Ice Cream is great for parties, brunches, or just sharing with your favorite people.
What other flavors can I create?
The sky’s the limit: swirl in matcha powder, pumpkin spice, espresso, finely diced mango, or toasted coconut. Every batch can be a new adventure—just mix in your favorites and make this Healthy Version of Ice Cream uniquely yours!
Final Thoughts
I truly hope you’ll give this Healthy Version of Ice Cream a try—it’s unbelievably simple and endlessly customizable, making dessert fun, delicious, and nourishing at the same time. Once you’ve tasted how satisfying and easy this is, you may never go back to the store-bought stuff again. Enjoy every spoonful and let me know what new flavor creations you dream up!
Print
Healthy Version of Ice Cream Recipe
- Total Time: 5 minutes
- Yield: 2 servings 1x
- Diet: Vegan
Description
Indulge in a guilt-free treat with this healthy version of ice cream made with frozen bananas. This vegan, dairy-free ‘nice cream’ is quick and easy to whip up, requiring just a few ingredients and a blender. Customize with your favorite add-ins and enjoy a creamy, delicious dessert!
Ingredients
Frozen Banana Base:
- 3 ripe bananas, sliced and frozen
- ¼ cup unsweetened almond milk (or any milk of choice)
- 1 teaspoon pure vanilla extract
Optional Add-Ins:
- 1 tablespoon peanut butter
- 1 tablespoon cocoa powder
- ¼ cup frozen berries
- a handful of dark chocolate chips
Instructions
- Prepare Banana Base: Place frozen banana slices in a blender or food processor. Pulse until bananas start to break down.
- Blend Ingredients: Add almond milk and vanilla extract to the bananas. Blend until smooth and creamy.
- Customize: Mix in any optional add-ins like peanut butter, cocoa powder, or berries as desired.
- Serve: Enjoy immediately for a soft texture or freeze for 1–2 hours for a firmer consistency. Scoop and indulge!
Notes
- This ‘nice cream’ is naturally sweet, dairy-free, and vegan.
- Enhance with toppings like nuts, coconut flakes, or granola.
- Store leftovers in the freezer for up to 1 week; let sit at room temperature for 10 minutes before serving.
- Prep Time: 5 minutes (plus freezing time for bananas)
- Cook Time: 0 minutes
- Category: Dessert
- Method: Blending
- Cuisine: American
Nutrition
- Serving Size: ½ cup
- Calories: 110
- Sugar: 14 g
- Sodium: 5 mg
- Fat: 1 g
- Saturated Fat: 0 g
- Unsaturated Fat: 0.5 g
- Trans Fat: 0 g
- Carbohydrates: 27 g
- Fiber: 3 g
- Protein: 1 g
- Cholesterol: 0 mg


