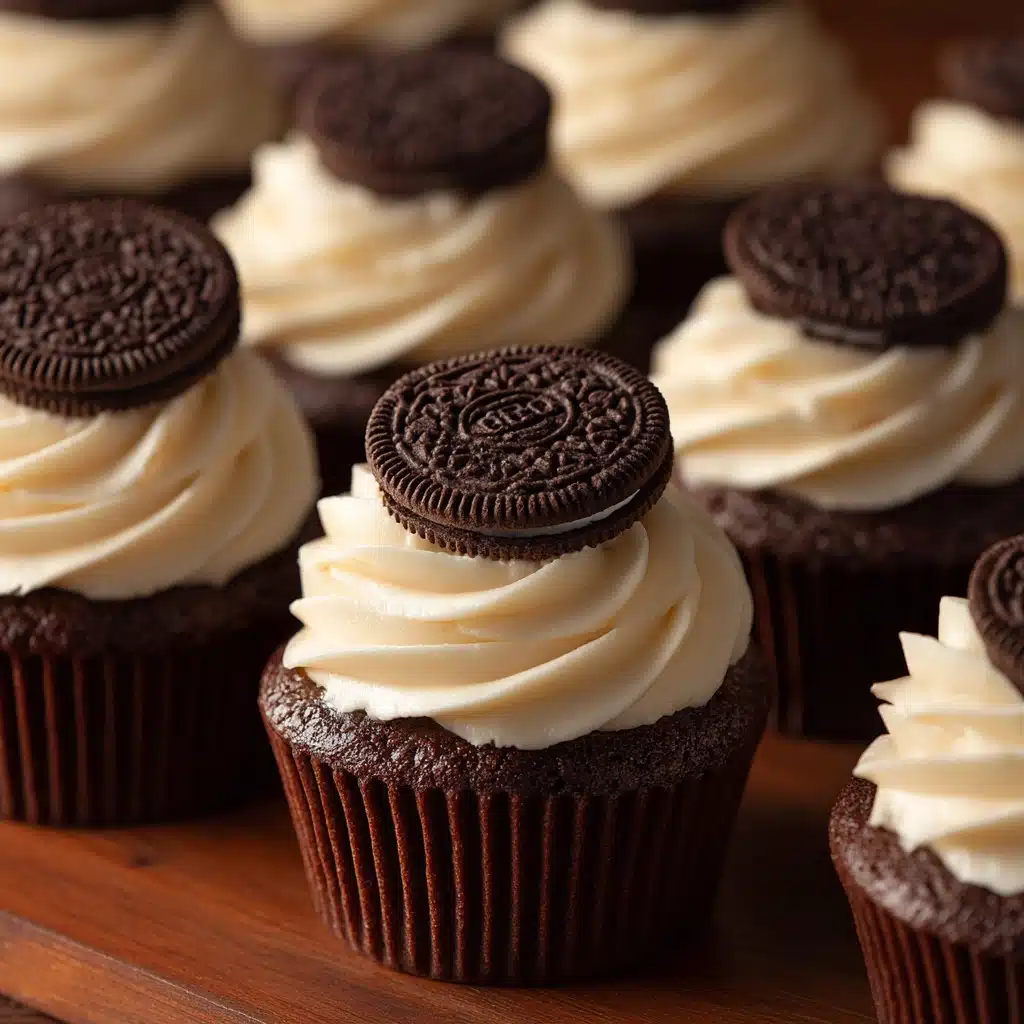
Cookies and Cream Dessert Cups Recipe
If you’re searching for a quick, crowd-pleasing treat that’s guaranteed to steal the show at any gathering, look no further than these Cookies and Cream Dessert Cups. Each spoonful is a dreamy combination of crunchy chocolate cookies, silky vanilla pudding, and billowy whipped topping, layered together in individual cups for the perfect no-bake indulgence. Whether you’re hosting a birthday bash or just need a sweet pick-me-up on a busy weeknight, Cookies and Cream Dessert Cups always deliver big flavor with minimal fuss.
Ingredients You’ll Need
-
Crust
- 20 chocolate sandwich cookies, crushed
- 2 tablespoons melted butter
Pudding Layer
- 1 package (3.4 ounces) instant vanilla pudding mix
- 2 cups cold milk
- 1 cup whipped topping
- 1/2 teaspoon vanilla extract
Toppings
- Additional whipped topping, for layering (optional)
- 10 crushed chocolate sandwich cookies for topping
- Mini chocolate chips or cookie halves for garnish (optional)
How to Make Cookies and Cream Dessert Cups
Step 1: Prepare the Cookie Crust
Start by crushing your chocolate sandwich cookies—pop them in a zip-top bag and give them a good bash with a rolling pin, or pulse them in a food processor until you get fine, uniform crumbs. Toss these cookie bits with melted butter in a bowl, making sure every crumb gets a buttery hug. Spoon about 2 tablespoons of this mixture into each dessert cup and gently press it down to form a compact crust that will hold up beautifully beneath all that creamy goodness.
Step 2: Make the Creamy Pudding Layer
In a separate bowl, whisk together the instant vanilla pudding mix and cold milk for a good 2 minutes. You want the mixture to thicken up to a soft, luscious consistency. Once thickened, fold in the whipped topping and vanilla extract. This simple step transforms your pudding into a fluffy, dreamy filling that’s light yet decadent—just the way you want it for Cookies and Cream Dessert Cups.
Step 3: Layer the Dessert Cups
Grab a spoon or, if you’re feeling fancy, a piping bag, and portion the pudding mixture over each cookie crust. If you love extra creaminess, add a generous layer of whipped topping right on top—this not only looks gorgeous but adds even more pillowy texture to every spoonful. Repeat the layering if your cups are tall, alternating cookie crumbs and pudding until you nearly reach the rim.
Step 4: Add the Finishing Touches
Sprinkle the tops with the remaining crushed cookies for extra crunch and visual flair. For bonus points, add a few mini chocolate chips or perch a cookie half on the edge of each cup. Not only does this make for a stunning presentation, but it also gives every guest a hint of what’s inside. Pop the cups in the fridge to chill for at least 1 hour, allowing the flavors to meld and the texture to set.
How to Serve Cookies and Cream Dessert Cups
Garnishes
When it comes to garnishing Cookies and Cream Dessert Cups, a little creativity goes a long way. Sprinkle extra crushed cookies, scatter some mini chocolate chips, or nestle a cookie half on top for instant wow-factor. If you’re feeling extra festive, a dollop of whipped topping and a drizzle of chocolate sauce will take things over the top.
Side Dishes
These dessert cups are rich and satisfying on their own, but if you want to create a dessert spread, pair them with fresh berries or a simple fruit salad. The tartness of berries balances the sweet creaminess of the cups, making for a refreshing finish.
Creative Ways to Present
Presentation is half the fun! Try serving Cookies and Cream Dessert Cups in clear mason jars, shot glasses for mini versions, or even in edible chocolate bowls. For parties, set up a DIY dessert bar where guests can top their own cups with a variety of sprinkles, candies, or flavored syrups.
Make Ahead and Storage
Storing Leftovers
If you have any leftovers (which rarely happens!), simply cover the dessert cups with plastic wrap or lids and store them in the refrigerator. They’ll stay fresh and delicious for up to 3 days, making them perfect for make-ahead treats or late-night cravings.
Freezing
Cookies and Cream Dessert Cups can be frozen if you want to prep far in advance, although the texture may change slightly once thawed. Store the cups in airtight containers and freeze for up to a month. Thaw overnight in the fridge for best results—just be aware that the whipped topping may lose some of its fluffiness.
Reheating
No reheating is necessary for this chilled dessert! In fact, Cookies and Cream Dessert Cups are best served cold, straight from the fridge. Just give them a little time to soften if they’ve been frozen, and you’re good to go.
FAQs
Can I use homemade whipped cream instead of store-bought whipped topping?
Absolutely! Homemade whipped cream works wonderfully and gives a fresher flavor. Just whip heavy cream with a little sugar until stiff peaks form, and use it in place of the whipped topping in the recipe.
What type Dessert
The classic chocolate sandwich cookie is a go-to for that signature flavor, but feel free to experiment with flavored varieties like mint or peanut butter for a fun twist on your Cookies and Cream Dessert Cups.
Can I make these ahead of time for a party?
Yes, these dessert cups are ideal for making ahead! Prepare them up to 24 hours in advance and keep them chilled until you’re ready to serve. Just add garnishes right before serving for the freshest look.
Is it possible to make this recipe gluten-free?
Definitely. Swap in your favorite gluten-free chocolate sandwich cookies and check that your pudding mix and whipped topping are gluten-free for a delicious, allergy-friendly version of Cookies and Cream Dessert Cups.
Can I use chocolate pudding instead of vanilla?
You sure can! Chocolate pudding will give your dessert cups a richer, deeper flavor and pair beautifully with the crushed cookies. It’s a great way to add your own twist to the classic Cookies and Cream Dessert Cups.
Final Thoughts
These Cookies and Cream Dessert Cups are a surefire way to win hearts—no oven required! With their luscious layers and irresistible mix of textures, they’re a treat everyone will love. Give them a try, and don’t be surprised if they become your new go-to dessert for every occasion.
Print
Cookies and Cream Dessert Cups Recipe
- Total Time: 15 minutes plus 1 hour chilling
- Yield: 6 to 8 servings 1x
- Diet: Vegetarian
Description
Delight in these easy-to-make Cookies and Cream Dessert Cups featuring a crunchy chocolate cookie crust layered with creamy vanilla pudding and whipped topping, perfect for a no-bake treat that satisfies your sweet tooth.
Ingredients
Crust
- 20 chocolate sandwich cookies, crushed
- 2 tablespoons melted butter
Pudding Layer
- 1 package (3.4 ounces) instant vanilla pudding mix
- 2 cups cold milk
- 1 cup whipped topping
- 1/2 teaspoon vanilla extract
Toppings
- Additional whipped topping, for layering (optional)
- 10 crushed chocolate sandwich cookies for topping
- Mini chocolate chips or cookie halves for garnish (optional)
Instructions
- Prepare the crust: In a bowl, combine the crushed chocolate sandwich cookies with melted butter until well mixed. Spoon about 2 tablespoons of this mixture into the bottom of each dessert cup. Press down gently to form an even crust layer.
- Make the pudding: In a separate bowl, whisk together the instant vanilla pudding mix and cold milk for about 2 minutes, or until the mixture has thickened. Carefully fold in the whipped topping and vanilla extract until smooth and creamy.
- Assemble the dessert cups: Spoon or pipe the pudding mixture over the cookie crusts in each cup, filling evenly. Add an optional layer of additional whipped topping on top if desired for extra creaminess.
- Add toppings and garnish: Sprinkle the crushed cookies over the whipped topping layer. Garnish with mini chocolate chips or halves of chocolate sandwich cookies for a decorative touch.
- Chill: Refrigerate the dessert cups for at least 1 hour to allow the flavors to meld and the pudding to set before serving.
Notes
- This recipe yields about 6 to 8 small dessert cups.
- You may substitute chocolate pudding mix for vanilla pudding for a richer chocolate flavor.
- Serving the dessert in clear cups highlights the contrasting layers for a visually appealing presentation.
- Prep Time: 15 minutes
- Cook Time: 0 minutes
- Category: Dessert
- Method: No-Bake
- Cuisine: American
Nutrition
- Serving Size: 1 cup
- Calories: 310
- Sugar: 22g
- Sodium: 300mg
- Fat: 15g
- Saturated Fat: 7g
- Unsaturated Fat: 6g
- Trans Fat: 0g
- Carbohydrates: 40g
- Fiber: 1g
- Protein: 3g
- Cholesterol: 15mg


