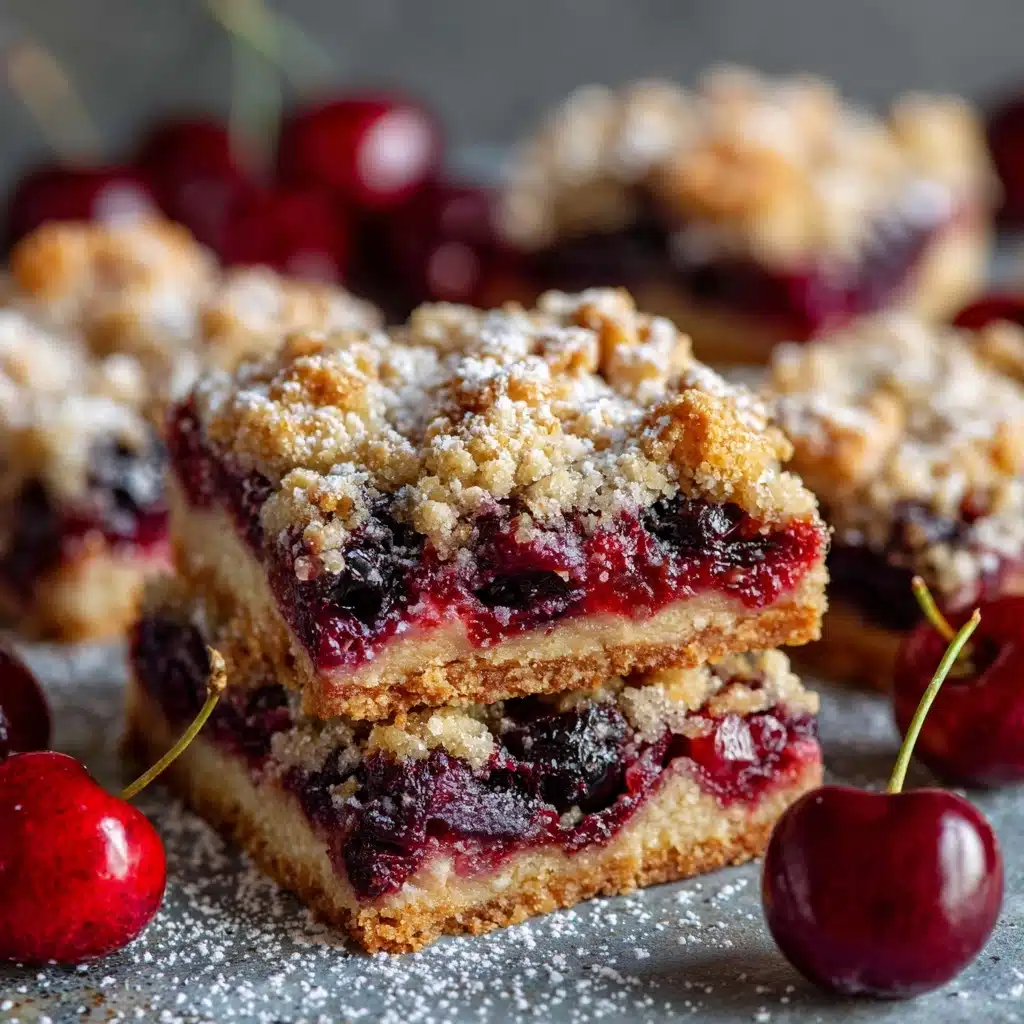
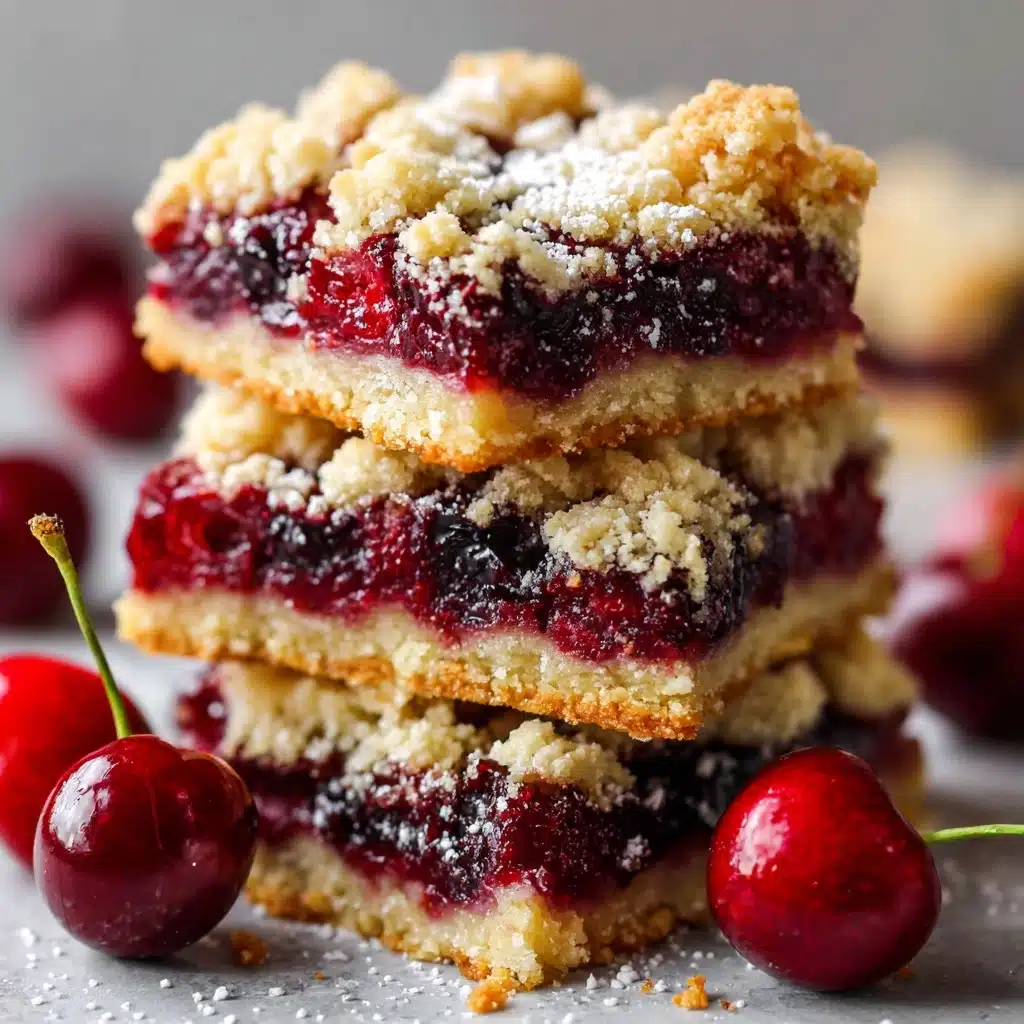
Christmas Cherry Bars Recipe
If you’re searching for a show-stopping treat to brighten up your holiday dessert table, you can’t go wrong with Christmas Cherry Bars. These cheerful bars are soft, buttery, bursting with juicy cherries, and finished off with a vanilla glaze and festive sprinkles. They come together easily, yet look and taste so stunning that everyone will think you spent all day in the kitchen! Each bite is the perfect blend of sweet, tart, and creamy—trust me, you’ll want to share (and maybe even gift) a batch of these cherry-studded delights.
Ingredients You’ll Need
You won’t believe how straightforward it is to whip up these Christmas Cherry Bars. Every ingredient plays an important role, whether it’s contributing a touch of sweetness, a pop of color, or the softest texture imaginable.
- Unsalted butter (1 cup, softened): Gives the bars their rich, melt-in-your-mouth base and helps create that soft crumb.
- Granulated sugar (1¾ cups): Delivers sweetness and helps the bars achieve their beautiful golden top.
- Eggs (4 large): Bind everything together and make the bars delightfully tender.
- Vanilla extract (1 teaspoon): Adds a warm, inviting note that ties all the flavors together.
- All-purpose flour (2¾ cups): The backbone of the bars, providing structure and just the right amount of softness.
- Baking powder (1½ teaspoons): Ensures the bars rise gently and stay fluffy.
- Salt (½ teaspoon): Balances out the sweetness and enhances the cherry flavor.
- Cherry pie filling (1 21-ounce can): The star ingredient—vibrant, tangy cherries tucked between soft cake layers.
- Powdered sugar (½ cup): Whisked into a light glaze for that gorgeous finishing touch.
- Milk (1–2 tablespoons, for glaze): Helps thin the glaze to the perfect drizzling consistency.
- Holiday sprinkles or white chocolate drizzle (optional): For a festive, eye-catching flair that makes every bar feel magical.
How to Make Christmas Cherry Bars
Step 1: Prepare Your Pan and Preheat the Oven
Start by preheating your oven to 350°F (175°C). Grab a 9×13-inch baking pan and give it a good greasing, making sure to cover every corner so your bar base will lift out beautifully after baking.
Step 2: Cream Together Butter and Sugar
In a large mixing bowl, cream the softened butter and granulated sugar together until the mixture turns pale and fluffy—this usually takes a few minutes with an electric mixer and is key for that tender crumb.
Step 3: Add the Eggs and Vanilla
Beat in the eggs one at a time, ensuring each is fully incorporated before adding the next. The batter will look silky and rich; then stir in the vanilla extract for an extra layer of cozy flavor.
Step 4: Combine the Dry Ingredients
In a separate bowl, whisk together your flour, baking powder, and salt. Gradually add this dry mix to the wet mixture, stirring just until combined to keep your bars light and tender.
Step 5: Assemble the Bars
Spread about two-thirds of the batter evenly into your prepared pan—it might look like a thin layer, but that’s just what you want. Next, spoon the cherry pie filling over the batter, spreading it out so every bite will be studded with cherries. Drop the remaining batter by spoonfuls across the top; don’t worry if it doesn’t cover everything, those pops of cherry showing through are beautiful!
Step 6: Bake
Bake for 35–40 minutes until the top is light golden and a toothpick inserted in the cake (not the cherry) comes out mostly clean. Let the bars cool completely in the pan, allowing them to set up before glazing and cutting.
Step 7: Glaze and Decorate
Whisk together the powdered sugar and milk until you have a smooth glaze. Drizzle generously over the cooled bars, then go wild with holiday sprinkles or a white chocolate drizzle for a truly festive finish.
How to Serve Christmas Cherry Bars
Garnishes
A handful of sparkling holiday sprinkles or a delicate zigzag of melted white chocolate takes your Christmas Cherry Bars from homey to holiday-showstopper in seconds. For extra flair, try edible glitter or tiny pearls—let your imagination have fun!
Side Dishes
Pair your Christmas Cherry Bars with mugs of hot cocoa, spiced tea, or peppermint coffee for the ultimate holiday treat experience. If you’re serving an array of desserts, these bars shine beside classics like gingerbread, shortbread cookies, or a scoop of vanilla bean ice cream.
Creative Ways to Present
Cut the bars into festive shapes using cookie cutters, or serve them on a platter lined with holly leaves. Wrap individual bars in parchment and tie with baker’s twine for a charming homemade gift—everyone loves unwrapping a little bit of holiday sweetness!
Make Ahead and Storage
Storing Leftovers
To keep your Christmas Cherry Bars fresh and moist, store them in an airtight container at room temperature for up to four days. Layering parchment between the bars helps prevent sticking if you’re stacking them.
Freezing
Yes, these bars freeze beautifully! After glazing and cooling, arrange them in a single layer (or separated by parchment) in an airtight, freezer-safe container. They’ll keep their flavor and texture for up to three months—perfect for stashing away holiday treats in advance.
Reheating
While these bars are delicious at room temperature, you can gently warm them in the microwave for a few seconds if you crave a softer bite. Just be sure to do so in short bursts to preserve the glaze and prevent drying out.
FAQs
Can I use a homemade cherry filling instead of canned?
Absolutely! If you prefer, simmer fresh or frozen cherries with sugar and a little cornstarch until thickened, then let cool before using. It will make your Christmas Cherry Bars even more special and bursting with real cherry flavor.
What’s the best way to cut the bars neatly?
For clean edges, chill the bars in the pan after glazing, then use a sharp knife cleaned between cuts. Lining your pan with parchment before baking also helps you lift the whole slab out for easy, tidy slicing.
Can I substitute other fruit fillings?
Yes! Raspberry, blueberry, or even apple pie filling are all delicious swaps. The recipe is a great canvas for whatever fruit flavors you love in your Christmas Cherry Bars.
Are Christmas Cherry Bars suitable for young bakers?
Definitely! With some adult supervision for the baking, kids will love helping spread the batter, spoon the cherries, and of course, add the sprinkles or drizzle. It’s a fun family kitchen project for the holidays.
Do I have to add the glaze and sprinkles?
The glaze and sprinkles make the Christmas Cherry Bars extra festive (and a little sweeter), but you can absolutely skip them for a simpler treat. A dusting of powdered sugar works beautifully, too!
Final Thoughts
If you’re hoping for a dessert that’s as merry as it is easy, you can’t go wrong with Christmas Cherry Bars. They’re a joyous, crowd-pleasing treat that’s made for sharing—so grab your spatula, and let these ruby-red bars become your new holiday go-to. Happy baking!
Print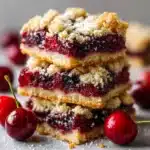
Christmas Cherry Bars Recipe
- Total Time: 55 minutes
- Yield: 20 bars 1x
- Diet: Vegetarian
Description
Indulge in the festive spirit with these delightful Christmas Cherry Bars. A buttery cake base topped with cherry pie filling and a sweet glaze, these bars are perfect for holiday gatherings or as a treat anytime.
Ingredients
Cake Base:
- 1 cup unsalted butter, softened
- 1¾ cups granulated sugar
- 4 large eggs
- 1 teaspoon vanilla extract
- 2¾ cups all-purpose flour
- 1½ teaspoons baking powder
- ½ teaspoon salt
Additional:
- 1 (21-ounce) can cherry pie filling
- ½ cup powdered sugar
- 1–2 tablespoons milk (for glaze)
- Holiday sprinkles or white chocolate drizzle (optional)
Instructions
- Preheat and Prepare: Preheat the oven to 350°F (175°C) and grease a 9×13-inch baking pan.
- Mix Wet Ingredients: Cream butter and sugar, then mix in eggs and vanilla.
- Combine Dry Ingredients: Whisk flour, baking powder, and salt in a separate bowl.
- Combine Mixtures: Gradually mix dry ingredients into wet mixture until combined.
- Layer and Bake: Spread most of the batter in the pan, top with cherry filling, add remaining batter, and bake for 35–40 minutes.
- Glaze and Serve: Whisk powdered sugar and milk for glaze, drizzle over bars, add toppings, cool, cut, and serve.
Notes
- You can use raspberry or blueberry pie filling for variation.
- Store bars in an airtight container for up to 4 days.
- Prep Time: 15 minutes
- Cook Time: 40 minutes
- Category: Dessert
- Method: Baking
- Cuisine: American
Nutrition
- Serving Size: 1 bar
- Calories: 210
- Sugar: 20g
- Sodium: 105mg
- Fat: 9g
- Saturated Fat: 5g
- Unsaturated Fat: 3g
- Trans Fat: 0g
- Carbohydrates: 30g
- Fiber: 1g
- Protein: 2g
- Cholesterol: 45mg


