Little Debbie Christmas Tree Cheesecake Recipe
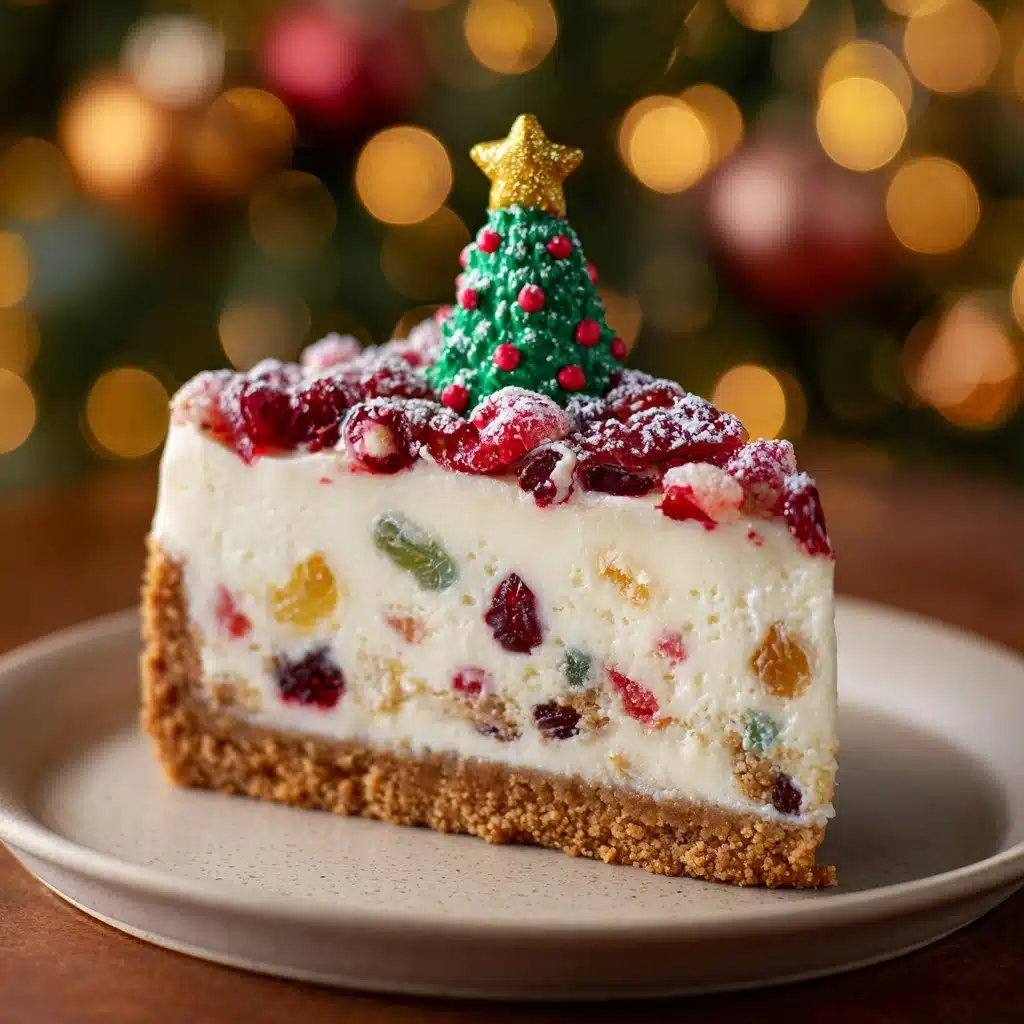
If you’re searching for a show-stopping, no-bake holiday treat that’s whimsical, creamy, and loaded with nostalgic joy, you’ll fall in love with this Little Debbie Christmas Tree Cheesecake. It’s a delightful mashup of beloved snack cakes and classic cheesecake, transformed into a festive centerpiece that will have everyone at your holiday table swooning. With a tender, cake-based crust and a luscious, whipped filling, each bite is pure Christmas magic—no oven required!
Ingredients You’ll Need
The beauty of this Little Debbie Christmas Tree Cheesecake is in its simplicity: just a handful of readily available ingredients, each playing a starring role in flavor and texture. Let’s take a look at what you’ll need and why:
- Little Debbie Christmas Tree Cakes (vanilla): These iconic snack cakes form both the crust and the festive topping, adding soft vanilla sweetness and a playful holiday look.
- Cream cheese (16 oz, softened): The creamy base of the cheesecake filling, it creates that signature tang and luscious texture we all crave.
- Powdered sugar (1/2 cup): Blends smoothly into the filling, sweetening it just enough without grittiness.
- Vanilla extract (1 teaspoon): A splash of vanilla brings warmth and depth, making each bite taste like holiday comfort.
- Heavy whipping cream (1 1/2 cups): When whipped, this adds airiness and a dreamy lightness to the cheesecake.
- Red and green sprinkles: For that unmistakable Christmas sparkle, these sprinkles add crunch, color, and cheer.
- Extra tree cakes for topping (optional): For an over-the-top presentation, garnish with more Little Debbie Christmas Tree Cakes just before serving.
How to Make Little Debbie Christmas Tree Cheesecake
Step 1: Make the Crust
Start by placing the Little Debbie Christmas Tree Cakes in your food processor and pulsing until you have fine, fluffy crumbs. These cake crumbs become your crust—soft, sweet, and full of holiday flavor. Press the crumbs evenly into the bottom of a 9-inch springform pan, making sure to pack them tightly so they hold together. Pop the pan into the fridge to firm up while you prepare the filling.
Step 2: Prepare the Cheesecake Filling
In a large bowl, use a hand mixer (or stand mixer) to beat the softened cream cheese with the powdered sugar and vanilla extract. You want this mixture to be extra smooth and creamy, with no lumps—this is the base of your dreamy cheesecake filling.
Step 3: Whip the Cream
In a separate bowl, whip the heavy cream to stiff peaks. This step is key for creating a light, mousse-like texture that sets beautifully in the fridge. Don’t rush it—fully whipped cream will make your Little Debbie Christmas Tree Cheesecake impossibly airy.
Step 4: Fold and Fill
Gently fold the whipped cream into the cream cheese mixture. Take your time and use a spatula, folding until no streaks remain. This keeps the filling fluffy and prevents it from deflating. Pour the mixture over your chilled crust and smooth out the top with a spatula.
Step 5: Chill Until Set
Cover the cheesecake and refrigerate for at least 4 hours, though overnight is even better. This chill time lets the flavors meld and the filling set to the perfect sliceable consistency. If you like super clean slices, pop it in the freezer for 30 minutes before serving.
Step 6: Decorate and Serve
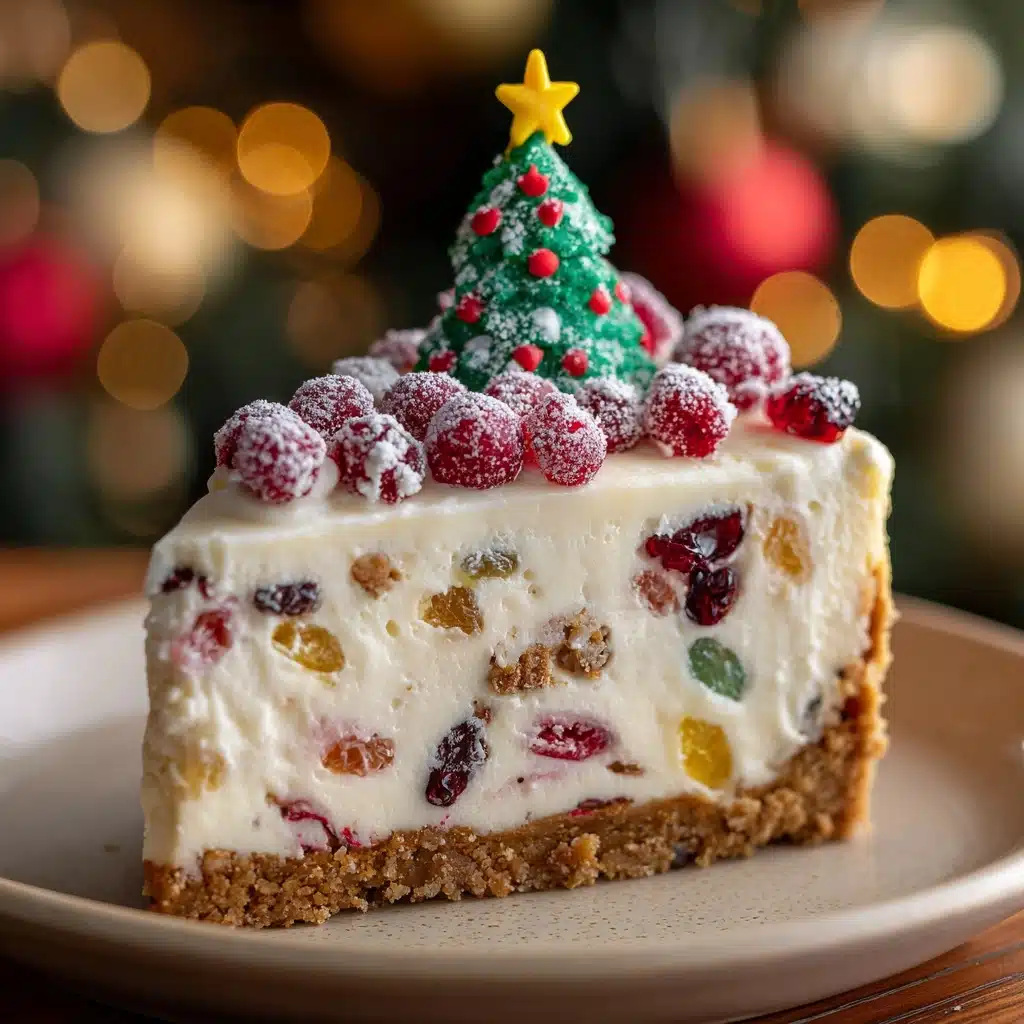
When you’re ready to serve, sprinkle generously with red and green sprinkles for that unmistakable holiday sparkle. For maximum wow-factor, top with extra Little Debbie Christmas Tree Cakes—let your inner Christmas elf go wild!
How to Serve Little Debbie Christmas Tree Cheesecake
Garnishes
Nothing says “festive” like a blizzard of red and green sprinkles scattered across the creamy top of your cheesecake. You can also perch whole or halved Little Debbie Christmas Tree Cakes around the edge or in the center for that unmistakable holiday charm. A touch of whipped cream or white chocolate curls makes it even more decadent.
Side Dishes
Pair your Little Debbie Christmas Tree Cheesecake with mugs of hot cocoa, spiced coffee, or even a chilled glass of eggnog. For an extra-special dessert spread, serve alongside other holiday treats like gingerbread cookies, peppermint bark, or a bowl of fresh berries for a pop of tartness.
Creative Ways to Present
Try slicing the cheesecake and plating each piece with a mini Christmas Tree Cake on the side, or cut the cheesecake into small squares for a bite-sized dessert platter. You can even use cookie cutters to create festive shapes or arrange slices in a wreath pattern for a showstopping centerpiece at your holiday party.
Make Ahead and Storage
Storing Leftovers
Store any leftover Little Debbie Christmas Tree Cheesecake covered in the refrigerator for up to five days. The texture stays silky and the flavors actually deepen, making each slice as delicious as the first.
Freezing
This cheesecake freezes beautifully! Wrap individual slices or the whole cheesecake tightly in plastic wrap, then foil. Freeze for up to one month. Thaw in the fridge overnight before serving—easy and convenient for holiday planning.
Reheating
No reheating required with this no-bake dessert. If serving straight from the freezer, let the cheesecake sit at room temperature for about 20 minutes to soften just enough for perfect, creamy slices.
FAQs
Can I use a different flavor of Little Debbie cakes?
Absolutely! While the classic vanilla Christmas Tree Cakes are iconic, you can try this recipe with chocolate or even the strawberry variety for a fun twist on the original Little Debbie Christmas Tree Cheesecake.
What if I don’t have a food processor?
No problem—just chop the cakes finely with a knife or crumble them by hand. Place the pieces in a zip-top bag and crush with a rolling pin until you get fine crumbs for your crust.
Can I make this cheesecake ahead of time?
Yes! In fact, making your Little Debbie Christmas Tree Cheesecake a day ahead allows the flavors to meld and the texture to firm up, making it even easier to slice and serve.
Is this recipe gluten-free?
Unfortunately, the Little Debbie Christmas Tree Cakes contain wheat, so this cheesecake is not gluten-free. You could experiment with gluten-free snack cakes as a substitute if needed.
How do I get clean slices when serving?
For clean, picture-perfect slices, run a large knife under hot water and wipe it dry between cuts. Chilling or lightly freezing the cheesecake before slicing also helps get those sharp, beautiful edges.
Final Thoughts
This Little Debbie Christmas Tree Cheesecake is pure holiday happiness in every bite—fun, festive, and fuss-free. If you’re searching for a dessert that will bring big smiles and second-helpings, give this recipe a try. You’ll be making sweet memories with every creamy, colorful slice!
Print
Little Debbie Christmas Tree Cheesecake Recipe
- Total Time: 4 hours 20 minutes
- Yield: 12 servings 1x
- Diet: Vegetarian
Description
Celebrate the holiday season with this festive Little Debbie Christmas Tree Cheesecake. This no-bake dessert features a delightful crust made from crushed Little Debbie Christmas Tree Cakes, a creamy, fluffy cheesecake filling, and festive red and green sprinkles that add a cheerful touch. Perfect as a make-ahead treat for holiday gatherings, this easy-to-make cheesecake offers a delicious combination of vanilla cake flavors with rich cream cheese and whipped cream for the ultimate festive indulgence.
Ingredients
Crust
- 6 Little Debbie Christmas Tree Cakes (vanilla)
Cheesecake Filling
- 16 oz cream cheese, softened
- 1/2 cup powdered sugar
- 1 teaspoon vanilla extract
- 1 1/2 cups heavy whipping cream
Garnish
- Red and green sprinkles
- Extra Little Debbie Christmas Tree Cakes for topping (optional)
Instructions
- Prepare the crust: In a food processor, pulse the Little Debbie Christmas Tree Cakes until they become fine crumbs. Press these crumbs evenly into the bottom of a 9-inch springform pan to form the crust. Place the pan in the refrigerator to chill while you prepare the filling.
- Make the cheesecake filling: In a large mixing bowl, beat the softened cream cheese with powdered sugar and vanilla extract until the mixture is smooth and creamy. In a separate bowl, whip the heavy cream until stiff peaks form. Gently fold the whipped cream into the cream cheese mixture until fully combined and light in texture.
- Assemble the cheesecake: Pour the prepared cheesecake filling over the chilled crust in the springform pan. Smooth the top with a spatula to ensure an even surface.
- Chill and set: Refrigerate the assembled cheesecake for at least 4 hours or until fully set and firm.
- Garnish and serve: Before serving, decorate the top with red and green sprinkles and optionally add extra Little Debbie Christmas Tree Cakes for a festive look. For cleaner slices, you can freeze the cheesecake for 30 minutes prior to cutting.
Notes
- For easier slicing and cleaner pieces, freeze the cheesecake for 30 minutes before serving.
- This dessert is perfect for make-ahead holiday celebrations, saving you time on the day of your event.
- Ensure the cream cheese is softened to room temperature to avoid lumps in the filling.
- If you prefer a sweeter crust, you can add a tablespoon of powdered sugar to the crushed cakes before pressing them into the pan.
- Use a 9-inch springform pan for best results and ease of removal.
- Prep Time: 20 minutes
- Cook Time: 0 minutes
- Category: Dessert
- Method: No-Bake
- Cuisine: American
Nutrition
- Serving Size: 1 slice
- Calories: 340
- Sugar: 24g
- Sodium: 180mg
- Fat: 24g
- Saturated Fat: 15g
- Unsaturated Fat: 7g
- Trans Fat: 0g
- Carbohydrates: 27g
- Fiber: 0g
- Protein: 4g
- Cholesterol: 75mg


