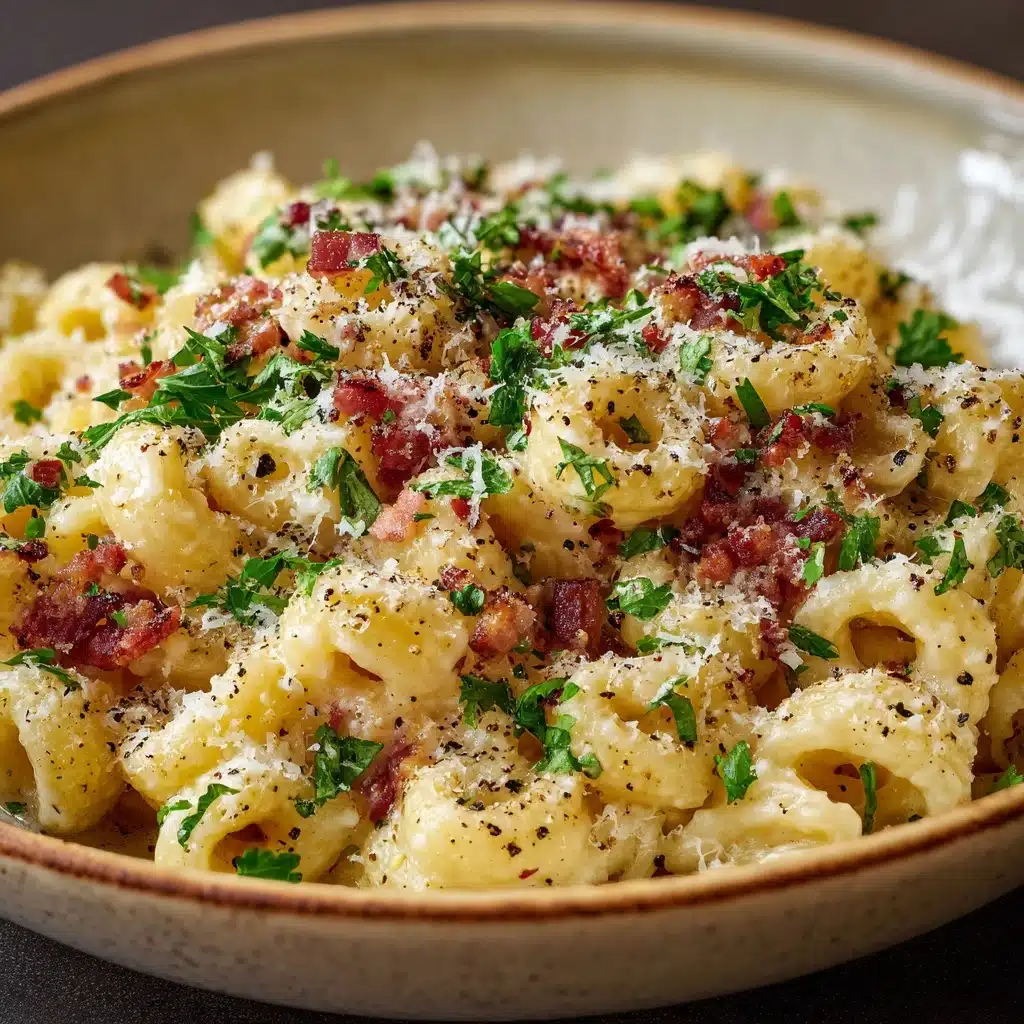
Creamy Ditalini Pasta Recipe
If you’re searching for a cozy, soul-satisfying dinner that comes together in less than half an hour, you simply have to try Creamy Ditalini Pasta. This dish wraps every tiny tube of pasta in a luscious, velvety Parmesan sauce, with hints of garlic and Italian herbs rounding out the flavor. Whether you’re in need of a quick weeknight comfort meal or want to impress friends at your next dinner party, this is the kind of recipe that instantly earns a spot in your personal hall of fame.
Ingredients You’ll Need
The magic of Creamy Ditalini Pasta lies in its short list of everyday ingredients, each playing a crucial role in the final result. Together, they create a dish that’s rich, flavorful, and beautifully balanced—proof that simple really can be spectacular.
- Ditalini pasta: These petite pasta tubes are perfect for holding onto all that creamy sauce, ensuring each bite is packed with flavor.
- Butter: Adds richness and creates the base for your silky roux, making the sauce irresistibly smooth.
- Garlic: Three cloves, minced, infuse the sauce with aromatic warmth—don’t skimp on this!
- All-purpose flour: Helps thicken the sauce, giving it that classic creamy texture.
- Milk: Brings a light, velvety consistency to the sauce while keeping it from being too heavy.
- Heavy cream: For that extra touch of decadence, heavy cream makes the sauce rich and luxurious.
- Grated Parmesan cheese: Melts into the sauce, adding a salty, nutty depth that’s absolutely essential.
- Italian seasoning: A blend of herbs that gives the dish a subtle, savory lift and Italian flair.
- Salt: Just enough to enhance all the other flavors—taste as you go!
- Black pepper: Adds a gentle kick and balances out the creamy notes.
- Chopped parsley (optional): For a burst of color and fresh flavor, sprinkle on top just before serving.
How to Make Creamy Ditalini Pasta
Step 1: Cook the Ditalini Pasta
Start by bringing a big pot of salted water to a rolling boil—this is your pasta’s spa day! Drop in the ditalini and cook according to the package instructions until perfectly al dente. Drain well and set aside. Don’t worry if the pasta cools down a bit; it’ll get a warm, creamy hug from the sauce in just a few minutes.
Step 2: Sauté the Garlic
In a large, deep skillet over medium heat, melt the butter until it’s foamy and fragrant. Toss in the minced garlic and sauté for about a minute, stirring constantly. You want the garlic to release its aroma without browning—this step sets the foundation for the rich, savory flavor of Creamy Ditalini Pasta.
Step 3: Make the Roux
Sprinkle the flour over the melted butter and garlic, then stir well to combine. Cook this mixture for another minute, letting the raw taste of the flour cook out. The roux is what transforms your sauce from thin to dreamy and luscious, so don’t rush this part!
Step 4: Whisk in the Milk and Cream
Gradually pour in the milk and heavy cream, whisking constantly to avoid any lumps. This is when the sauce starts to take on a luxurious texture. Keep stirring for 3 to 5 minutes, until it begins to thicken and coat the back of a spoon.
Step 5: Add Cheese and Seasonings
Lower the heat and stir in the grated Parmesan cheese, Italian seasoning, salt, and black pepper. Keep mixing until the cheese melts completely and the sauce is silky smooth. Taste and adjust seasoning as needed—you want every bite of this Creamy Ditalini Pasta to be perfectly balanced.
Step 6: Combine Pasta and Sauce
Add the cooked ditalini to your skillet and gently fold it into the sauce, making sure every piece is beautifully coated. Let everything simmer together for 2 to 3 minutes. The pasta will absorb just enough of that creamy goodness without turning mushy.
Step 7: Garnish and Serve
If you like, sprinkle with chopped parsley for a fresh pop of green. Serve the Creamy Ditalini Pasta warm and get ready for rave reviews!
How to Serve Creamy Ditalini Pasta

Garnishes
A generous shower of chopped parsley adds a touch of brightness to each bowl, while an extra grating of Parmesan never hurts. If you’re feeling fancy, a pinch of red pepper flakes or a drizzle of good olive oil can elevate the presentation and flavor even further.
Side Dishes
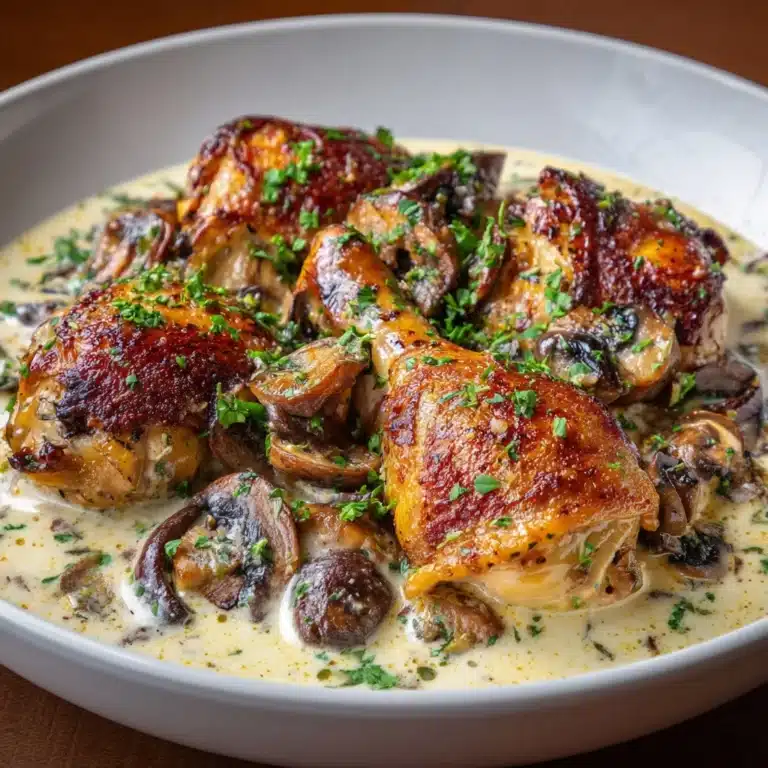
Creamy Ditalini Pasta pairs beautifully with crisp green salads, roasted vegetables, or crusty garlic bread to mop up every bit of sauce. For a heartier meal, serve alongside grilled chicken, sautéed mushrooms, or even a simple tomato salad for a pop of acidity.
Creative Ways to Present
Bring out your favorite wide, shallow bowls and let the pasta take center stage. For a rustic touch, serve family-style in a big platter and let everyone help themselves. Or, portion it into ramekins, top with a little extra cheese, and broil for a golden finish—a guaranteed showstopper!
Make Ahead and Storage
Storing Leftovers
If you find yourself with leftovers (lucky you!), transfer the Creamy Ditalini Pasta to an airtight container and refrigerate for up to 3 days. The sauce may thicken as it sits, but it’s easy to loosen up when reheating.
Freezing
While cream-based sauces don’t always freeze perfectly, you can freeze this pasta if needed. Let it cool completely, portion into freezer-safe containers, and store for up to 2 months. Thaw overnight in the refrigerator before reheating for best results.
Reheating
To bring your Creamy Ditalini Pasta back to life, warm it gently on the stovetop or in the microwave. Add a splash of milk or cream as you reheat, stirring frequently to restore its creamy texture. Be patient and avoid high heat to keep the sauce from separating.
FAQs
Can I make Creamy Ditalini Pasta gluten-free?
Absolutely! Just swap in your favorite gluten-free ditalini pasta and use a 1:1 gluten-free flour blend in place of the all-purpose flour for the roux. The results are just as creamy and delicious.
What proteins work well in this dish?
Cooked chicken, crispy bacon, or sautéed mushrooms are all fantastic additions. Simply stir them in with the pasta for a heartier meal—the creamy sauce pairs beautifully with each.
Can I use a different pasta shape?
Of course! While ditalini is wonderful for soaking up the sauce, other short pasta shapes like elbow macaroni, small shells, or penne work well too. Just adjust the cooking time as needed.
Is there a lighter way to make this pasta?
You can lighten things up by substituting half-and-half for the heavy cream, or even using all milk. The sauce will be a bit less rich but still delicious and creamy.
How do I prevent the sauce from becoming lumpy?
The key is to add your milk and cream slowly, whisking constantly as you pour. If you do get a few lumps, keep whisking vigorously over low heat—they usually smooth out as the sauce cooks.
Final Thoughts
There’s something truly magical about a bowl of Creamy Ditalini Pasta—it’s comforting, crowd-pleasing, and so simple to make at home. Give this recipe a try and watch it become an instant favorite with family and friends. I can’t wait for you to taste just how satisfying and delicious it really is!
Print
Creamy Ditalini Pasta Recipe
- Total Time: 25 minutes
- Yield: 4 servings 1x
- Diet: Vegetarian
Description
This creamy ditalini pasta recipe offers a rich and comforting Italian-inspired dish that’s perfect for a quick weeknight dinner. Tender ditalini pasta is coated in a luscious homemade Parmesan cream sauce seasoned with garlic and Italian herbs, creating a delightful meal that’s both easy to prepare and satisfying. Garnish with fresh parsley for a touch of color and freshness.
Ingredients
Pasta
- 12 oz ditalini pasta
Sauce
- 2 tablespoons butter
- 3 cloves garlic, minced
- 2 tablespoons all-purpose flour
- 1 1/2 cups milk
- 1/2 cup heavy cream
- 1/2 cup grated Parmesan cheese
- 1/2 teaspoon Italian seasoning
- 1/4 teaspoon salt
- 1/4 teaspoon black pepper
Garnish
- Chopped parsley (optional)
Instructions
- Cook the Pasta: Bring a large pot of salted water to a boil and cook the ditalini pasta according to the package instructions until al dente. Drain the pasta and set it aside.
- Sauté Garlic: In a large skillet over medium heat, melt the butter. Add the minced garlic and sauté for 1 minute until fragrant but not browned.
- Make the Roux: Stir in the all-purpose flour with the butter and garlic, cooking for an additional minute while stirring continuously to form a smooth roux.
- Add Milk and Cream: Slowly whisk in the milk and heavy cream to the roux, stirring constantly to prevent lumps. Continue cooking the sauce for 3 to 5 minutes until it begins to thicken.
- Incorporate Cheese and Seasonings: Add the grated Parmesan cheese, Italian seasoning, salt, and black pepper to the sauce. Stir well until the cheese melts completely and the sauce becomes smooth.
- Combine Pasta and Sauce: Add the cooked ditalini pasta into the sauce, stirring to coat all the pasta evenly.
- Simmer and Serve: Let the pasta and sauce simmer together for 2 to 3 minutes to heat through. Garnish with chopped parsley if desired and serve warm.
Notes
- For added protein, stir in cooked chicken, crispy bacon, or sautéed mushrooms.
- Use half-and-half instead of heavy cream for a lighter version of the sauce.
- Prep Time: 10 minutes
- Cook Time: 15 minutes
- Category: Main Course, Side Dish
- Method: Stovetop
- Cuisine: Italian-Inspired
Nutrition
- Serving Size: 1 cup
- Calories: 390
- Sugar: 4g
- Sodium: 320mg
- Fat: 18g
- Saturated Fat: 10g
- Unsaturated Fat: 6g
- Trans Fat: 0g
- Carbohydrates: 43g
- Fiber: 2g
- Protein: 13g
- Cholesterol: 50mg


